
Usecase:
Implementing a multi-image picker in a SharePoint PowerApps form which allows attaching one or more selected images from a document library to a list item. Functionality to delete images attached to a list item. Displaying the images in a list view thumbnail-style.
For the sample implementation I used the case of selecting and displaying images for car types. So the result should look like this:

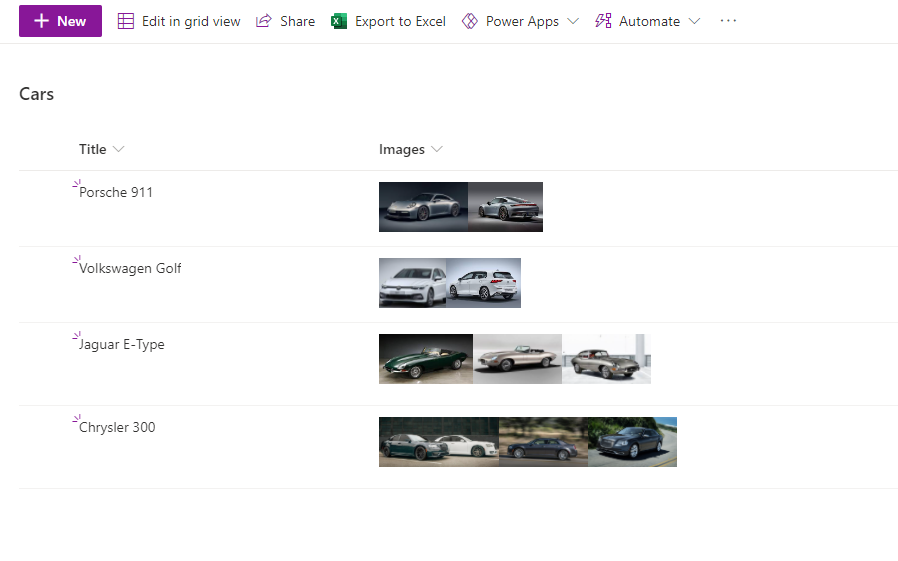
To remove an image from a car type entry the implementation contains a Delete-button.
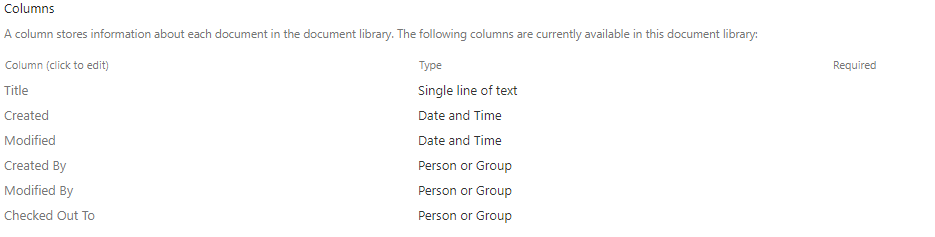
My cars list is named Cars.
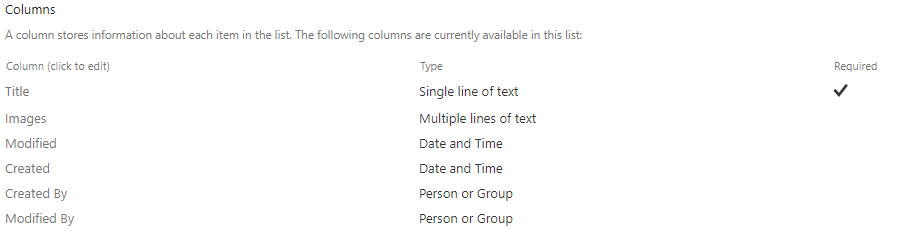
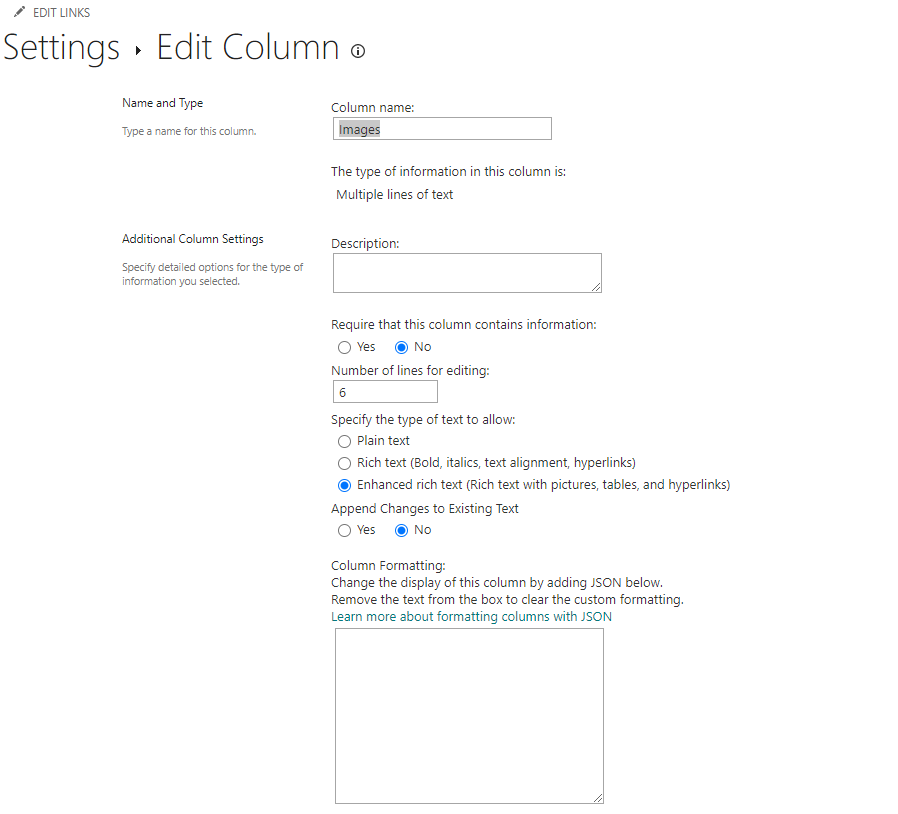
The Images-column has to be defined as Multiple lines of text with Enhanced rich text (Rich text with pictures, tables, and hyperlinks).
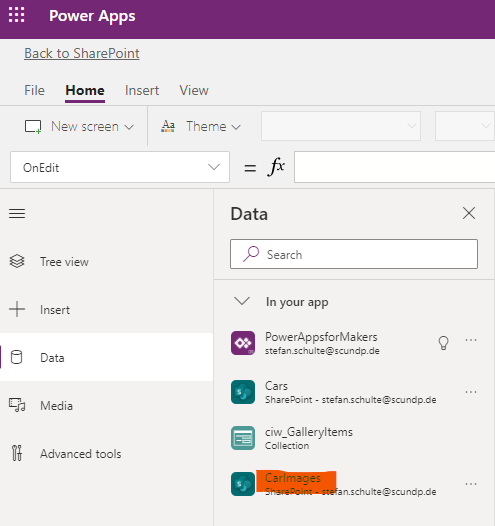
The document library for the images I named CarImages. It’s a default document library without any additional columns.
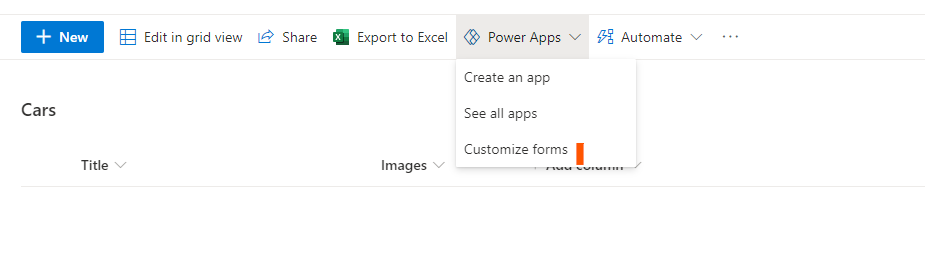
After switching to PowerApps after selecting Customize forms in the view for the Cars-list
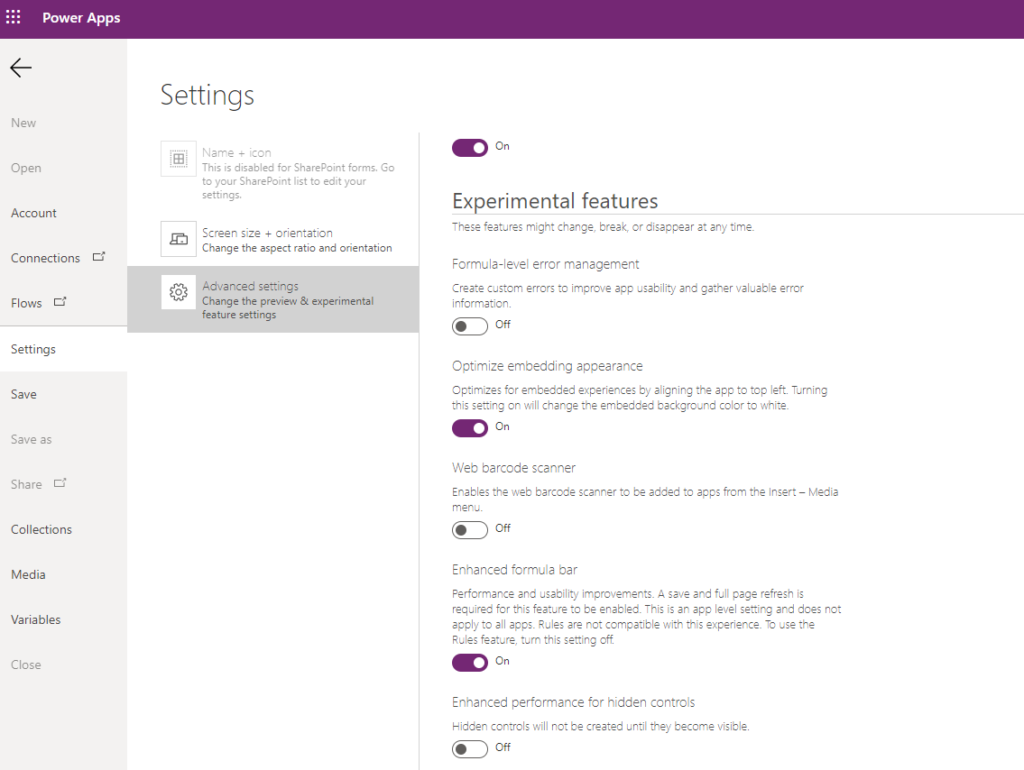
you should turn the Enhanced formula bar feature on for better editing experience:
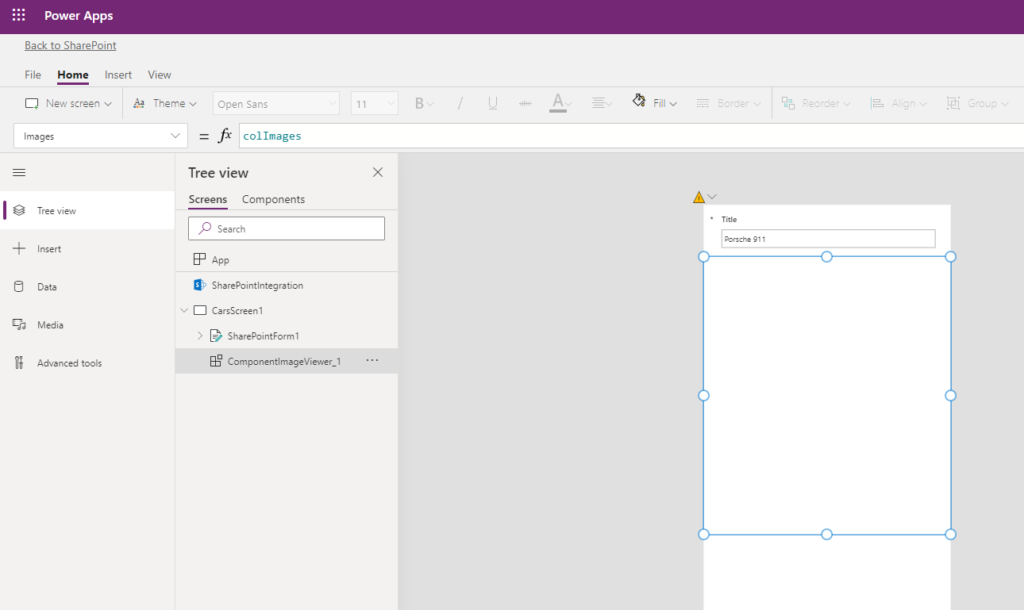
I renamed the PowerApps screen from FormScreen1 to CarsScreen1.
For better reusability I leveraged PowerApps Components for the implementation. I created two components which you can download subsequently:
Now you can import the MultiImagePickerComponents.msapp into your PowerApp.
Insert the component ComponentImageViewer on your PowerApps screen.
To display the images attached to your list item you have to pass them to the image viewer component using its Images property. Now we will read the images into an images collection called colImages at the top of the OnEdit-, OnView and OnNew-action of the SharePointIntegration-element:
Set(sharePointTenantUrl,
    Left(SharePointIntegration.Selected.'Link to item',
    Find("sharepoint.com",SharePointIntegration.Selected.'Link to item') + 13));
This code provides the URL of your SharePoint Online tenant to the variable sharePointTenantUrl which is used for completing img-src-attributes because SharePoint uses relative paths for displaying images and PowerApps needs absolute paths. Add the subsequent code for the OnEdit– and OnView-actions after the code we added above:
ClearCollect(colImages,
    ForAll(
            Filter(
                Split(
                    LookUp(Cars,ID = SharePointIntegration.SelectedListItemID, Images),
                    "<"
                ),
                Find("img", Result) <> Blank()
            ),
            {
                Image: Concatenate(
                    "<",
                    If(Find(sharePointTenantUrl,Result) > 0,Result,Substitute(Result,"src=""",Concatenate("src=""", sharePointTenantUrl)))
                )
            }
          )
);
This splits the Images text column to the colImages collection after extracting the img-elements (SharePoint adds some HTML we don’t want to process here) and doing the path completition explained above. For the OnNew-action please provide
Clear(colImages);
as we won’t have any images attached when adding a new list item.
Now we can provide colImages as value for the Images-property of image viewer component:
The second property you have to maintain is the ViewOnly-property. Set on true this property will hide the Delete-button of the component – so I provided
SharePointForm1.Mode = FormMode.View
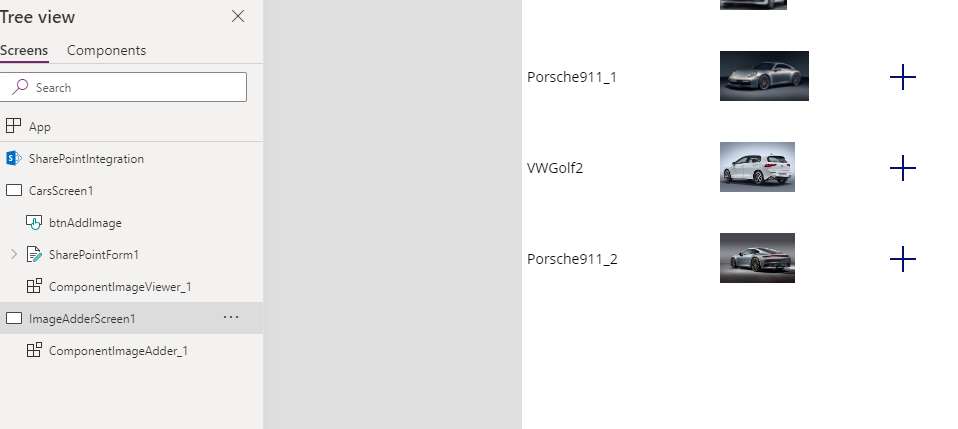
Now, as we are complete with the image viewer component, we will provide the functionality for adding images by using ComponentImageAdder. For this I added a new blank screen ImageAdderScreen1. Now we insert the image adder component on this new screen. The component has three properties – ImageSource, SharePointTenantUrl and CallBackScreen. For SharePointTenantUrl we provide variable sharePointTenantUrl, for CallBackScreen, which is the screen we want to navigate to after adding an image, we provide our main screen (in my example CarsScreen1). To provide the image data for the ImageSource-property we have to create a data source for the document library CarImages using the SharePoint connector under Connectors.
Now for the ImageSource-property we can provide following formula:
ForAll(
    CarImages,
    {
        Name: Name,
        'Link to image': 'Link to item'
    }
)
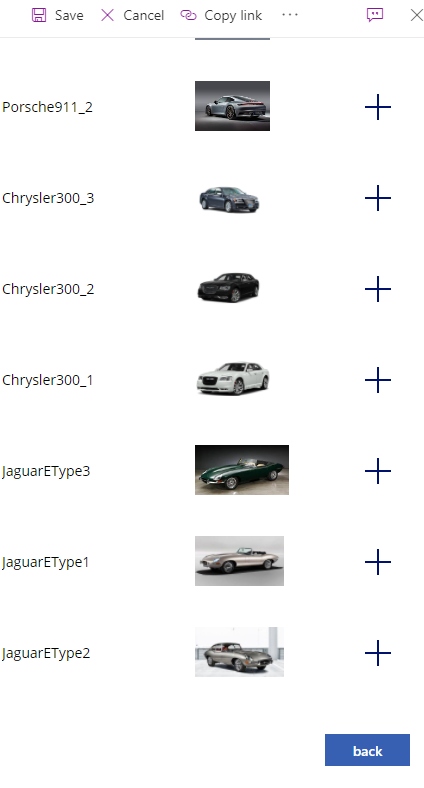
After maintaining the properties you will already see your image adder screen populated with images from your document library:
To update our image viewer component with added images we will use the OnVisible-property of our main screen and add the following statements:
If(ComponentImageAdder_1.AddedImage <> Blank(),
    ClearCollect(colImages,ComponentImageViewer_1.ImagesOut);
    Collect(colImages,{
                Image: ComponentImageAdder_1.AddedImage
        }
    )
)
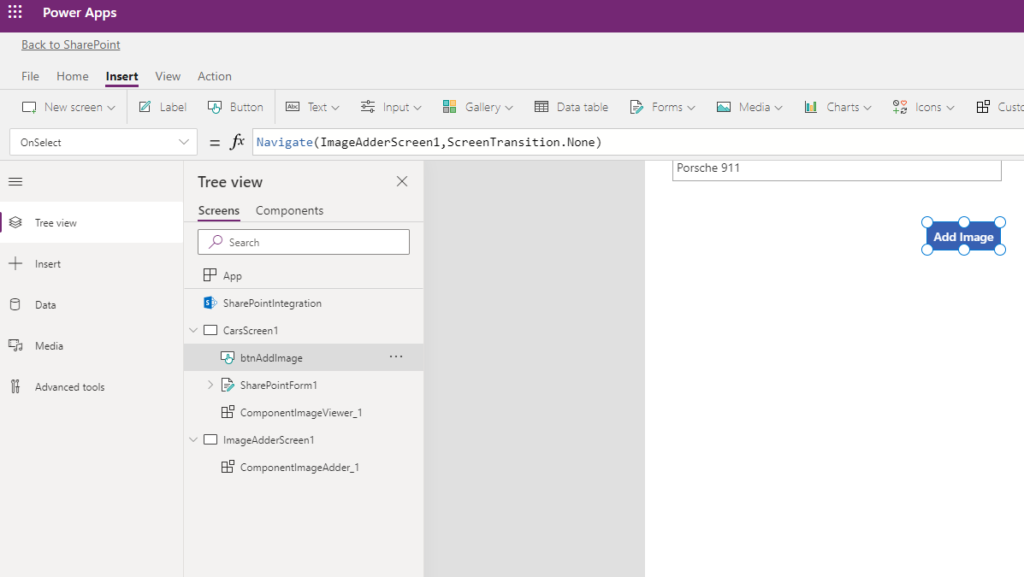
This will adjust our colImages, which is the datasource for the image viewer component. To launch the image adder screen from the main screen I added a button btnAddImage with OnSelect set to:
Navigate(ImageAdderScreen1,ScreenTransition.None)
For the button I used Fill = RGBA(56, 96, 178, 1) because this is the color I used in the components as well. To hide the button in View-mode I provided
SharePointForm1.Mode <> FormMode.View
for the Visible-property of the button.
If you now save, publish and launch your PowerApp from your SharePoint list you should be able to test the image view/add/delete functionality. If the standard form is displayed instead of your PowerApps form hit Strg+F5 to refresh your browser cache. As publishing a PowerApps form basically generates Javascript you should always hit Strg+F5 after publishing a new version of your form to ensure that the newly generated Javascript code is downloaded by your browser.
Finally for saving your edits to the SharePoint-list you will have to patch the list item in the OnSuccess-action of your SharePoint-form by placing the following code at the top:
Patch(
    Cars,
    LookUp(Cars, ID=SharePointForm1.LastSubmit.ID),
    {
        Images: Concat(ComponentImageViewer_1.ImagesOut, Image)
    }
);
To reset the components when opening the PowerApps-form place something like
Reset(ComponentImageViewer_1);
Reset(ComponentImageAdder_1);
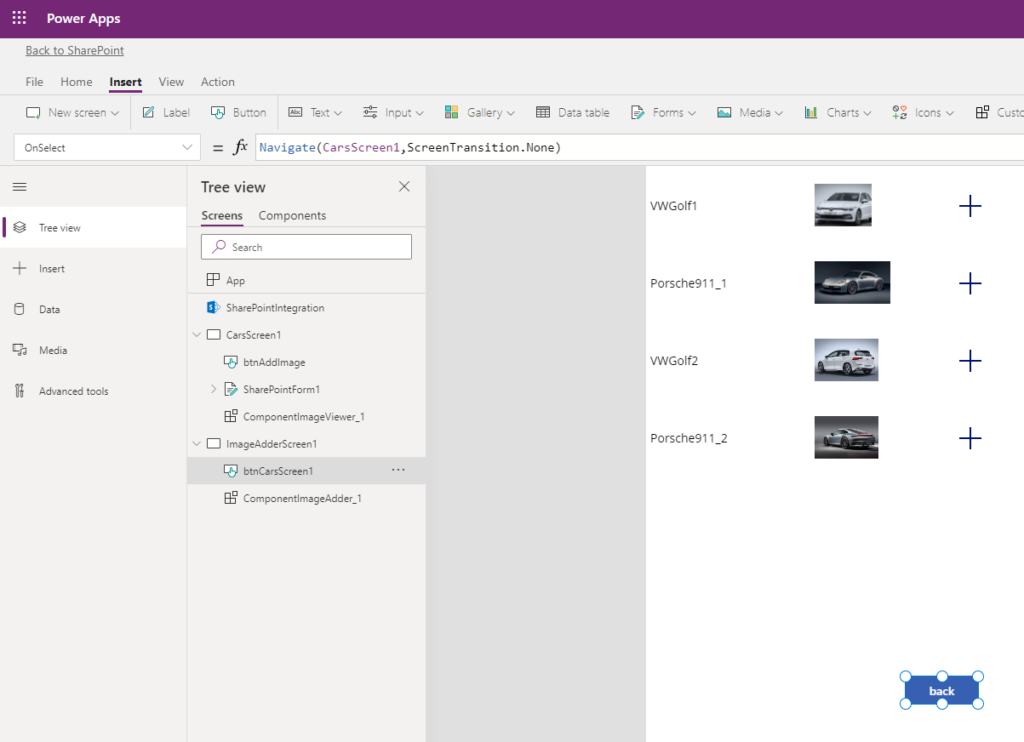
at the top of the OnEdit, OnNew and OnView-actions of the SharePointIntegration-element. For leaving the image adder component without selecting an image I added a back-button to navigate back to the main screen:
To reset the imager adder component everytime it is launched you have to provide
Reset(ComponentImageAdder_1)
for the OnVisible-action of the image adder screen.
To always start with the main form when opening a list item you should add a Navigate to your main screen at the bottom of the OnEdit, OnNew and OnView-actions of your SharePointIntegration-element like:
Navigate(CarsScreen1)
For explanations of the implementation of the components please see the code comments.
Thanks and have fun.